Whether you're new to marijuana production or looking to improve your existing grow, following this complete guide will help you produce large, high-quality yields right at home. With the right gear, strategies, and attention, cultivating cannabis indoors can be an extremely rewarding and cost-effective endeavor.
Choosing Weed Varieties
The first step in planning your indoor harvest is choosing the right cannabis strains to grow. The three main types of marijuana plants each have their own qualities.
Energizing strains
Known for their uplifting cerebral effects, sativas grow tall and slender with narrow leaves. They thrive in hotter tropical climates and have a longer blooming time between 2.5-3 months indoors. Top sativa strains include Jack Herer, Durban Poison, Super Lemon Haze, and Jack Herer.
Relaxing strains
These strains provide relaxing full-body effects and grow short and bushy with broad leaves. Adapted to cooler mountain climates, they flower faster within 8-9 weeks. Popular indica strains include Granddaddy Purple, Northern Lights, and Bubba Kush.
Hybrids
Hybrid strains blend traits from both energizing strains and relaxing strains. They offer combined effects and have moderate blooming times around 2.25-2.5 months. Popular mixes are Blue Dream, OG Kush, and Blue Dream.
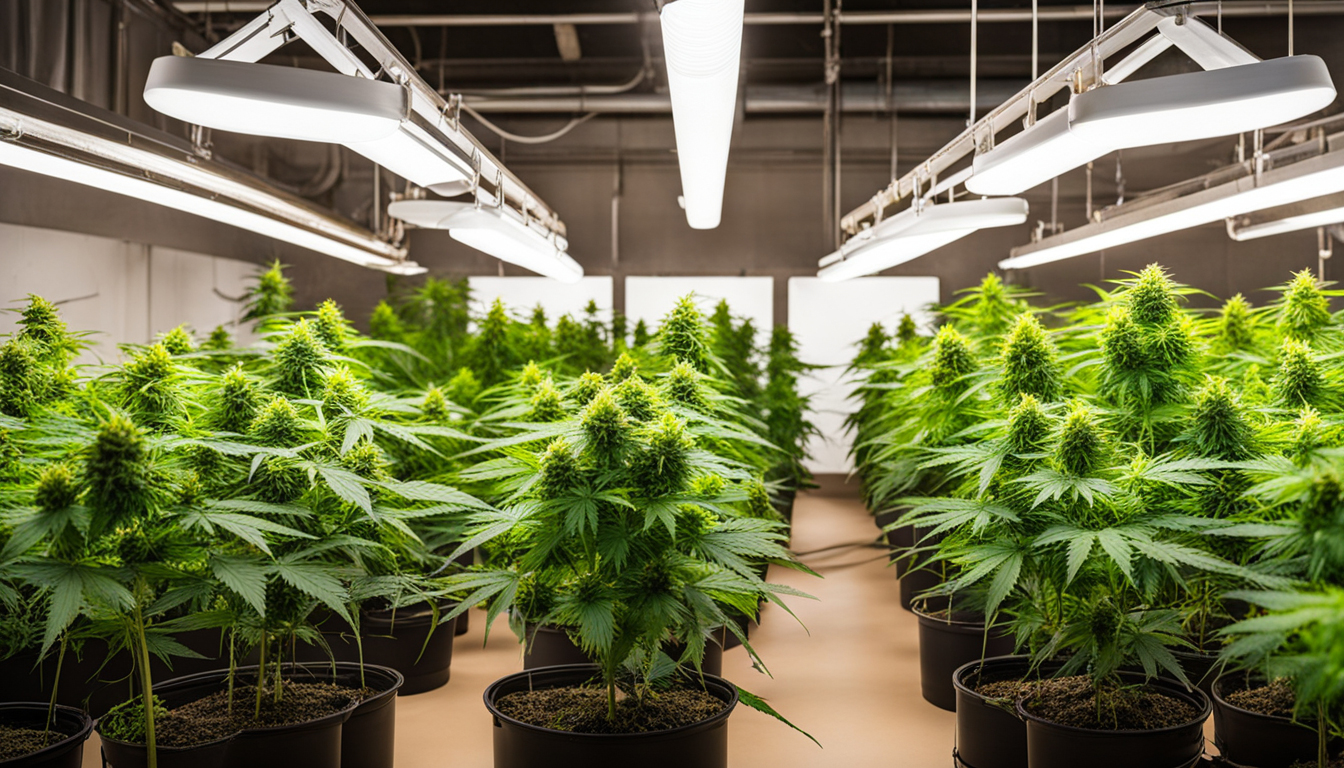
Setting Up Your Grow Space
Pot plants need the right controlled environment to succeed. Key factors for indoor farms are lighting, ventilation, layout, and finding the ideal discreet area.
Location
Choose an available space with quick access to water and power outlets. An empty spare room, large closet, basement corner, or grow tent securely placed in a garage all make great hidden cultivation room spots.
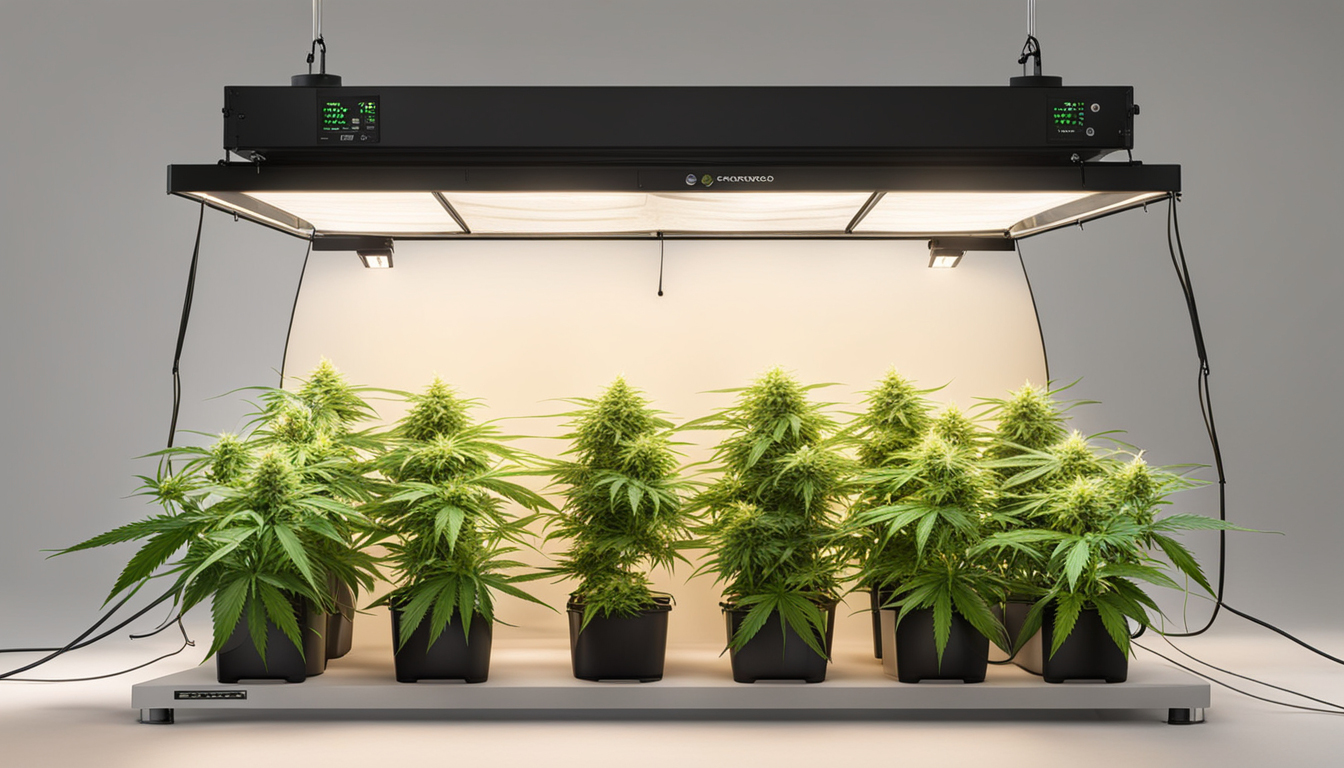
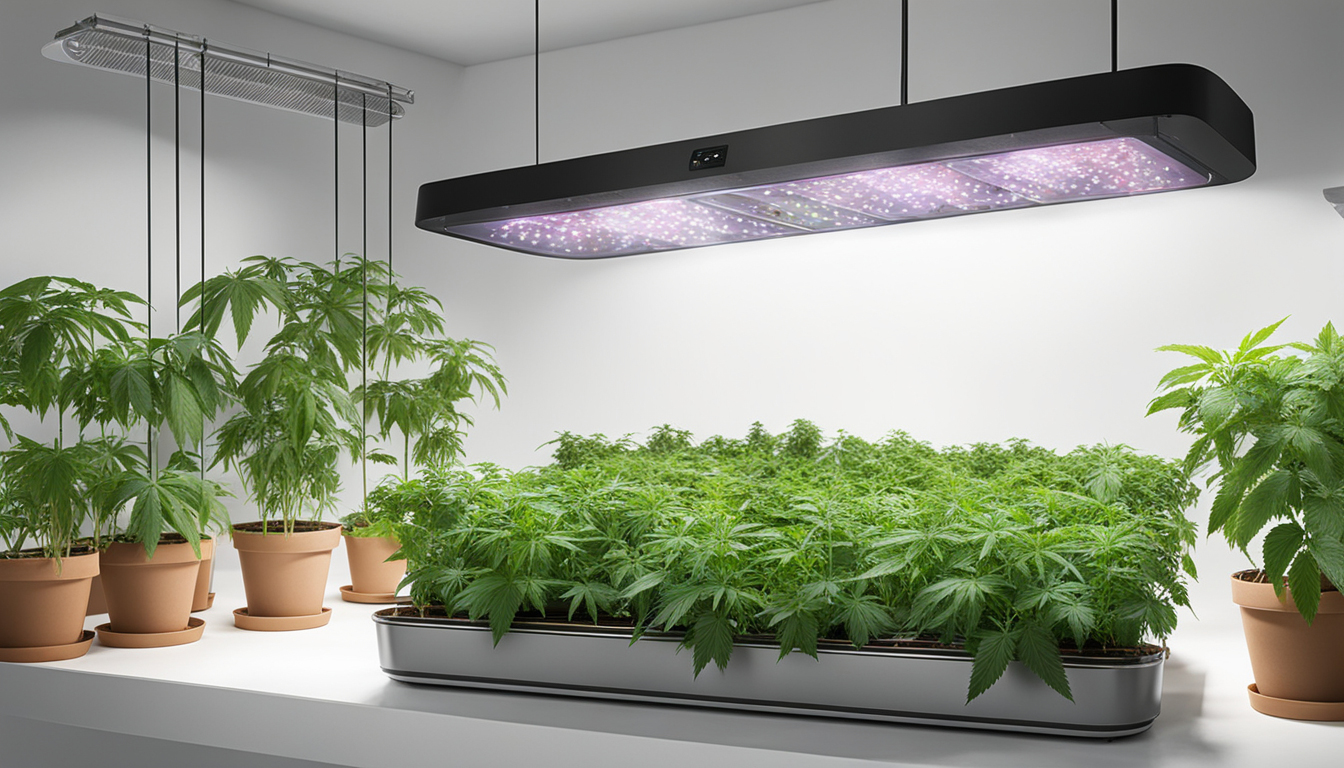
Lighting
Cannabis requires powerful light for all vegetative stages. LED grow lights are efficient and come in broad spectrum options simulating natural outdoor light. Provide 15-25 watts per sq. ft for the growth stage and 20-40 watts per square foot for flowering.
Airflow
Proper airflow and exhaust systems maintain ideal temp, humidity, and fresh CO2 levels. Set up silent 4-6 inch blowers or carbon filters to refresh old air and eliminate odors.
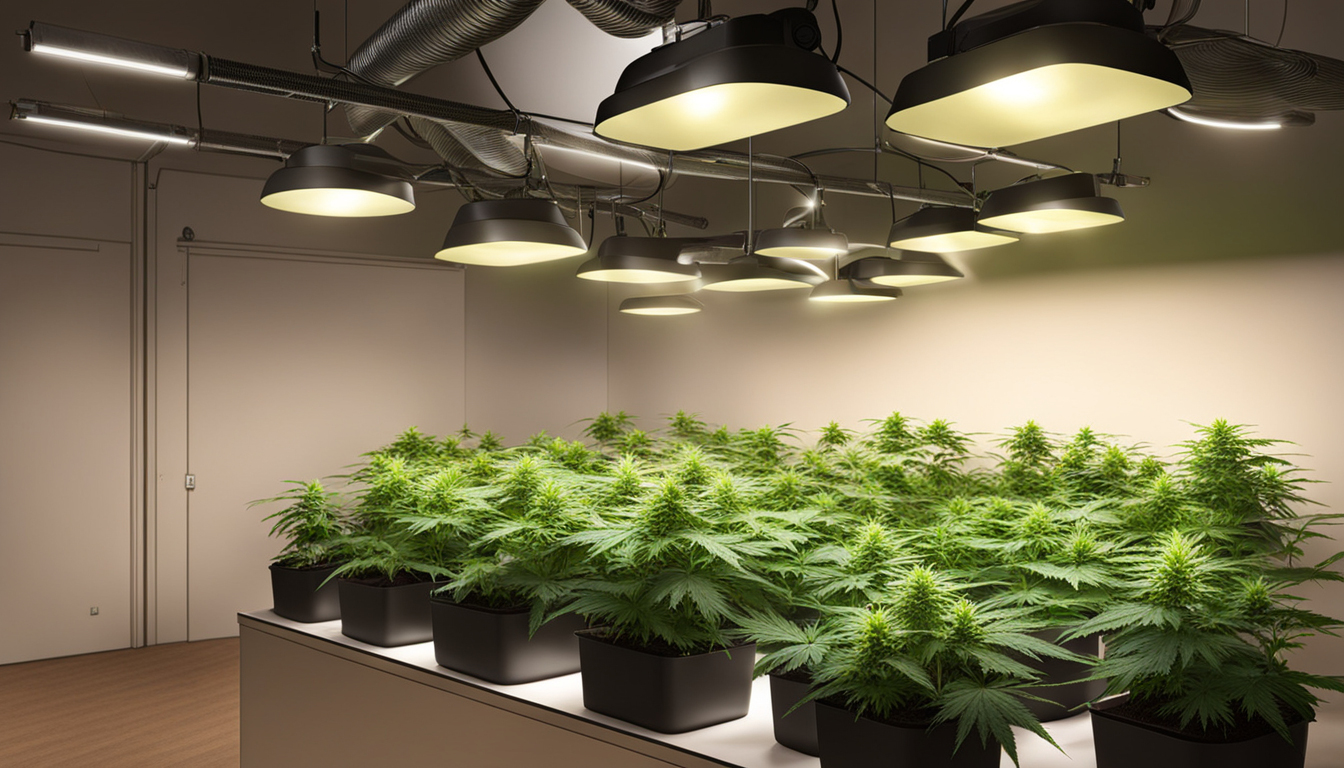
Layout
Optimize your space by arranging plants carefully under the lamps and leaving room to access and work around them. Set up distinct zones for vegetation, flowering, curing, and cloning.
Cultivation Substrates
Marijuana can be cultivated in different substrates, each with pros and cons. Pick a appropriate option for your specific setup and cultivation style.
Soil
The classic substrate, soil is affordable and easy for new growers. It provides great flavor but requires more irrigation and fertilizing to feed plants. Amend soil with perlite or coir to improve aeration.
Coconut coir
Made from coconut husks, renewable coco coir holds water but still allows air to the roots. It's more sterile and more consistent than soil. Use coco-specific fertilizers to avoid accumulation.
Hydroponics
In water systems, plant roots develop directly in fertilizer water solution. This allows quick growth but needs close observation of water properties. Deep water culture and drip systems are popular techniques.
Sprouting Seeds
Sprouting activates your pot seeds to begin growing radicles. This prepares them for planting into their growing medium.
Towel Method
Place seeds between moist paper towel and keep them damp. Inspect after 2-7 days for growing radicles indicating germination is complete.
Planting directly
Plant seeds directly into wetted growing medium 6mm deep. Gently water and wait 7-14 days until sprouts push through the top.
Rockwool Cubes
Soak rockwool cubes in pH-adjusted water. Insert seeds 1⁄4 inch deep into the cubes. Keep cubes wet until sprouts emerge within 1-14 days.
Repotting Young plants
Once sprouted, marijuana young plants need to be transplanted to avoid crowding. Move them into proper sized containers.
Ready Containers
Load final pots with growing medium enriched with slow-release fertilizer. Allow containers to absorb water for 8-12 hours before repotting.
Carefully Transplanting
Gently separate seedling roots from sprouting medium using a spade. Put into prepared container at same depth as before and gently water in.
Growth Stage
The vegetative stage promotes foliage and cannabis grow guide plant form through 18-24 hours of daily lighting intensity. This stage usually lasts 4-8 weeks.
Using 3/4 to full day of Lighting
Use grow lights on a 24 hour cycle or natural sunlight to initiate nonstop growth. Lamp output influences height and node distance.
Fertilizing
Use vegetative stage nutrients higher in nitrogen. Make sure pH remains around 5.8-6.3 for full fertilizer uptake. Fertilize 1⁄4 to 1⁄2 strength after 14 days and strengthen slowly.
LST and topping
Fimming, LST, and trellising direct growth patterns for even canopies. This increases yields.
Bloom Stage
The blooming stage develops buds as plants show their sex under a 12/12 cycle timing. It lasts 2-3 months depending on strain.
Changing Light Schedule
Switch grow lights to 12 hours on, 12 hours off or place outside for natural 12/12 timing. This triggers plants to begin blooming.
Flushing
Flushing removes fertilizer residuals to enhance flavor. Fertilize weakly the first period then just use pH'd water the last 2 weeks.
Flushing
Continue 12/12 light timing but flush using neutral pH water only. Return to plain watering if buds aren't ripe Contact Us Today after two weeks.
Harvesting
Recognizing when marijuana is fully ripe ensures peak cannabinoid content and aroma. Harvest plants at peak ripeness.
Identifying Ripeness
Look for fading pistils, swelling calyxes, and 5-15% amber trichomes. Check buds around the plant as they don't all ripen evenly.
Harvesting plants
Use sterilized, razor-sharp pruning shears to gently slice each plant at the base. Leave 5-10cm of stalk attached.
Drying
Suspend intact plants or Find Out More colas upside down in a lightless room with moderate temperature and RH around 45-65% for 7-14 days.
Aging
Curing continues desiccating while aging the buds like aged spirits. This technique smooths bitterness and further develops cannabinoid contents.
Jars and Humidity
Manicure cured buds from stems and store into glass jars, packing about 3⁄4 full. Use a sensor to monitor jar moisture.
Opening jars daily
Open containers for a few hours each day to slowly reduce humidity. Remoisten buds if RH drops below 55%.
Long term storage
After 2-3 weeks when moisture stabilizes around 55-60%, perform a last trim and keep long-term in airtight jars.
Common Problems and Solutions
Even experienced cultivators run into various marijuana plant problems. Identify problems early and fix them properly to maintain a strong garden.
Nutrient Deficiencies
Chlorosis often indicate inadequate nitrogen. Purpling stems and leaves signal phosphorus deficiency. Test pH and increase fertilizers gradually.
Bugs
Spider mites, fungus gnats, mites, and nematodes are common pot pests. Use neem oil sprays, predator bugs, and sticky traps for organic control.
Mold
High moisture encourages botrytis and bud rot. Improve circulation and circulation while reducing humidity under 50% during flowering.
Conclusion
With this complete indoor weed growing guide, you now have the info to grow plentiful strong buds for private harvests. Follow these techniques and methods during the seed starting, vegetative, and flowering stages. Spend in good equipment and carefully monitor your plants. In time, you'll be compensated with sticky fragrant buds you grew yourself under the loving care of your green thumbs. Good luck cultivating!